

You catch it in ordinary moments.
A harsher bathroom light. A wider part line in a mirror selfie. Skin that looks a little duller than it used to. More hair on the pillow, in the brush, or circling the shower drain. Often, the first reaction is not panic. It is frustration. You want something realistic, not invasive, and simple enough to fit into a packed week.
That is why interest in red light therapy benefits before and after keeps growing. People are not just curious about the science. They want to know what changes they might see, how long it takes, and how to tell whether it is working for their skin or scalp.
LED red and near-infrared light have become a practical at-home option for people who want a consistent routine without adding another long appointment to the calendar. The appeal is obvious for busy professionals, parents, and frequent travelers. If a treatment is easy to use, you are more likely to stick with it. And with light therapy, consistency matters more than intensity.
Before-and-after results also deserve a more grounded conversation. Good outcomes usually build slowly. Skin may look smoother before wrinkles look softer. A scalp may feel calmer before hair appears fuller. If you understand that rhythm from the start, you are less likely to quit too early.
Seeing the Potential of Red Light Therapy
Many people first hear about red light therapy through facial devices and wrinkle photos. That is part of the story, but not the whole story. The more interesting use case for modern life may be hands-free, portable LED therapy that supports both skin and scalp wellness while you keep moving through your day.
That matters because the biggest obstacle is often not access. It is routine.
If you have a demanding schedule, even a helpful tool can fail if it only works when you are sitting still in one room, at one time, with a long setup process. A portable LED cap changes that pattern. It makes treatment more like brushing your teeth than booking a procedure.
Why before and after matters
“Before and after” can sound like marketing language, but it serves a real purpose when used effectively. It helps you track slow changes that your brain often misses day to day.
You might not notice a gradual improvement in skin texture when you see your face every morning. You might not spot reduced shedding on your scalp until you compare photos taken under the same lighting. Progress often becomes clear only when you step back and look at the pattern.
The most common areas people hope to improve
People usually start red light therapy for one of these reasons:
- Skin texture concerns such as roughness, dullness, or fine lines
- Scalp wellness needs including visible thinning, shedding, or a less healthy-looking scalp environment
- A low-effort routine that feels manageable at home, at work, or while traveling
A useful mindset is to treat red light therapy like a training plan, not a single event. Small sessions repeated consistently tend to matter more than one perfect session.
The most encouraging part is that LED light therapy has moved beyond vague wellness claims. Controlled research has documented visible skin improvements, and emerging scalp-focused interest is pushing more people to use portable caps as part of a long-term self-care routine.
How Light Energy Recharges Your Cells
A portable LED cap sounds simple. Put it on, go make coffee, answer a few emails. Under that simple routine, something very small and very important is happening inside your skin and scalp cells.
Cells rely on mitochondria to make energy. Mitochondria work like rechargeable batteries, producing ATP, the fuel cells use for repair, renewal, and routine maintenance. When tissue is stressed by age, irritation, or everyday wear, that energy-making process can become less efficient. Red and near-infrared light are used to support it.
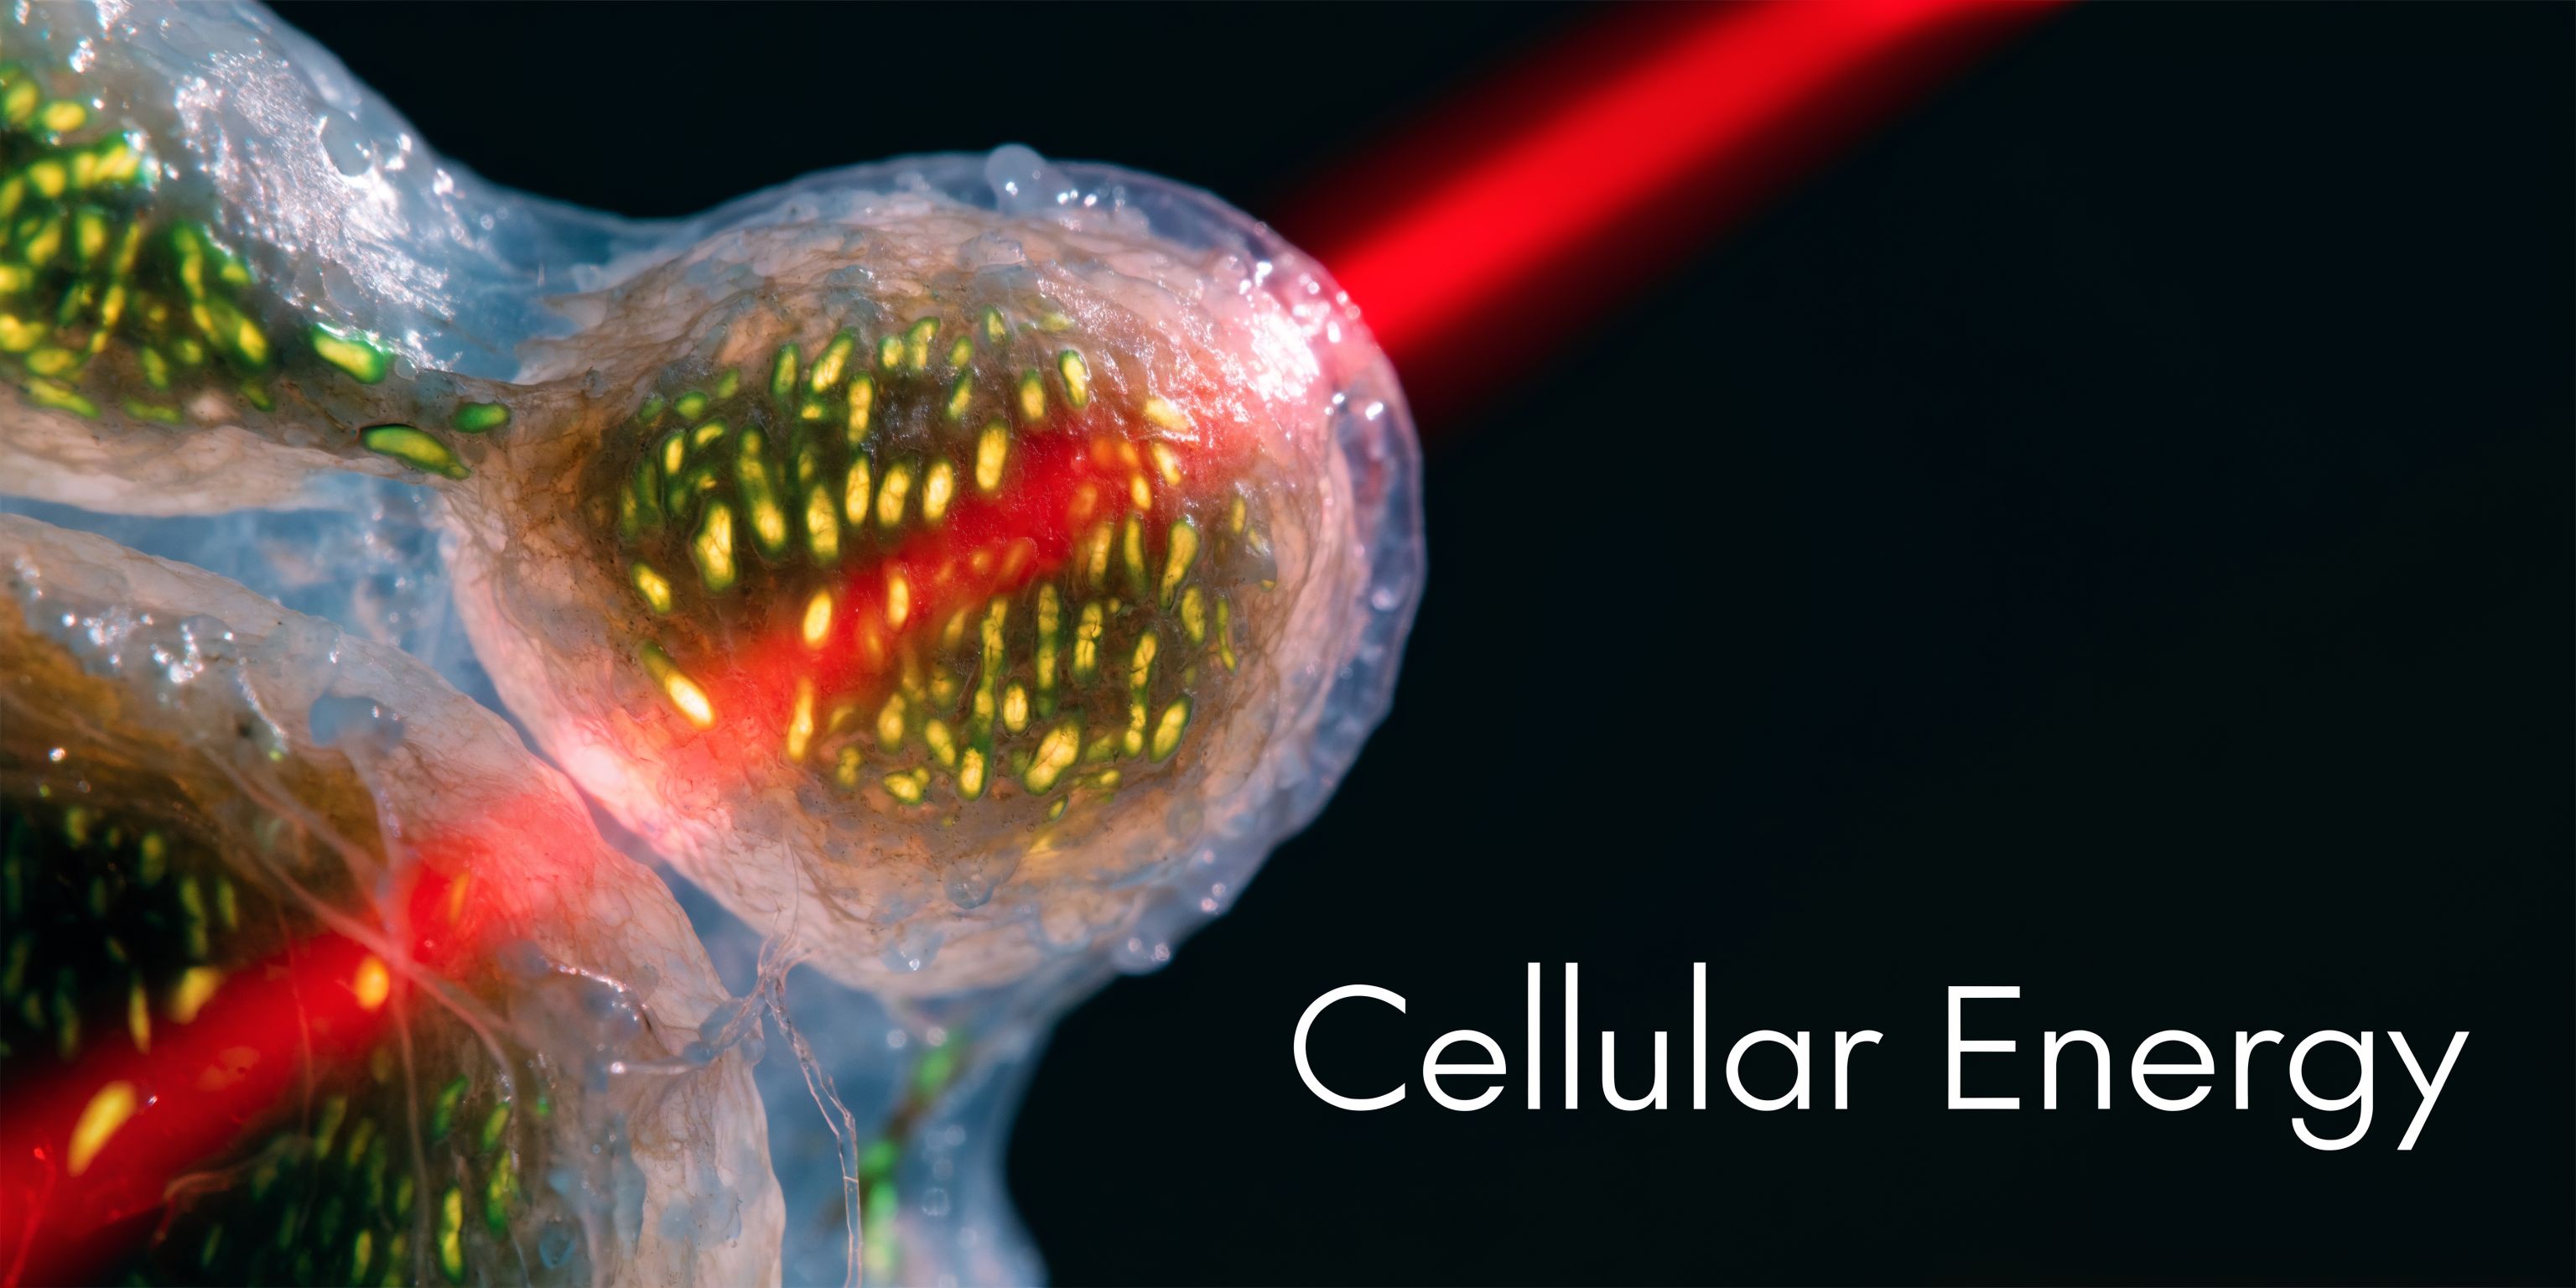
The battery analogy
Photobiomodulation is the term for this process. Specific wavelengths of light are absorbed by parts of the cell that help manage energy production, especially cytochrome c oxidase inside the mitochondria. As a result, cells may produce ATP more efficiently, which helps support normal repair activity.
If you want a plain-English breakdown, this explanation of how LED light therapy works lays out the mechanism clearly. The same core idea is also described by a 2023 overview from Maysama, which explains how 660 nm red light and 850 nm near-infrared light interact with tissue in different ways while supporting cellular energy, circulation, and follicle function.
Why red and near-infrared are paired
These two wavelengths are often used together because skin and scalp are layered tissues, not one flat surface.
- 660 nm red light is absorbed more superficially, which makes it relevant for visible skin concerns such as texture, tone, and overall appearance.
- 850 nm near-infrared light reaches deeper tissue, which is why it is often included in scalp-focused devices designed to support the environment around hair follicles.
The pairing matters because surface tissue and deeper tissue are not identical. A portable LED cap built with both wavelengths can support more than one goal at once, which is especially useful for someone tracking both scalp wellness and skin changes over time.
What that means in real life
You will not feel your mitochondria making ATP. What you may notice, over repeated sessions, is that your skin looks calmer or smoother and your scalp feels less irritated or more balanced.
That distinction helps set realistic expectations.
Red light therapy does not act like makeup, a styling product, or a one-day fix. It supports the conditions cells need to do their jobs better. That is why before-and-after changes tend to show up gradually in photos first, especially with hair thinning and scalp health, where progress is often subtle before it becomes obvious.
The Clinically Proven Benefits for Skin and Scalp
The most credible way to evaluate red light therapy is to separate enthusiasm from evidence. For skin, the strongest support comes from controlled clinical work showing measurable changes, not just anecdotal glow reports.
A key trial published in 2014 used large-area light sources and followed volunteers through a full treatment course. After 30 sessions, participants showed significant improvements in skin complexion, skin feeling, roughness, wrinkles, and collagen density, with blinded photography, profilometry, ultrasound, and satisfaction assessments supporting the results in the published clinical trial.
The important takeaway is not only that participants reported improvement. The study used objective tools, including ultrasonographic scans and blinded photo review, to confirm change.
Collagen support and smoother-looking skin
When people ask about before-and-after changes, they are usually asking some version of this: will my skin look firmer, smoother, or less lined?
The answer is that red light therapy appears to support the conditions linked with those changes. In the 2014 trial, collagen density increased, and before-and-after clinical photography showed visible wrinkle reduction and smoother skin texture.
That matters because collagen is part of the skin’s structural support system. When skin looks thinner, rougher, or more creased, part of that story often involves changes in that support network.
A calmer environment for skin and scalp
Another practical benefit is reduced visible irritation. Healthier-looking skin and scalp usually do not come from one “miracle” pathway. They come from a combination of better repair signaling, circulation support, and less inflammatory stress.
For the scalp, this is especially relevant. Even when someone starts because of thinning, the first useful shift may be a calmer scalp environment. Less visible redness, less reactivity, and better comfort can be meaningful progress, even before density changes become obvious in photos.
Why circulation matters
Hair follicles and skin cells depend on steady access to oxygen and nutrients. Red and near-infrared light are often discussed in terms of circulation because tissue repair is easier when local blood flow is better supported.
That does not mean every user sees dramatic overnight change. It means the tissue environment becomes more favorable over time. For skin, that may show up as improved tone and texture. For scalp wellness, it may support follicle function and the quality of the surrounding tissue.
What the evidence supports right now
A grounded summary looks like this:
- For facial skin: controlled research supports visible improvements in roughness, wrinkles, complexion, and collagen density.
- For scalp wellness: the biological rationale is strong, and consumer interest is moving toward portable caps because consistency is easier when the device is hands-free.
- For both: the benefits are cumulative. They appear with repeated use, not one-off sessions.
The best way to read the data is with patience. Clinical results do not suggest instant transformation. They support the idea that regular LED use can produce meaningful, visible change over time.
Your Realistic Red Light Therapy Timeline
Most disappointment with red light therapy comes from bad timing, not bad technology. People start, use it a few times, then expect a dramatic shift by the next weekend. That is not how this works.
Visible change tends to follow a sequence. Early benefits are often subtle. Then they become easier to spot if you stay consistent.
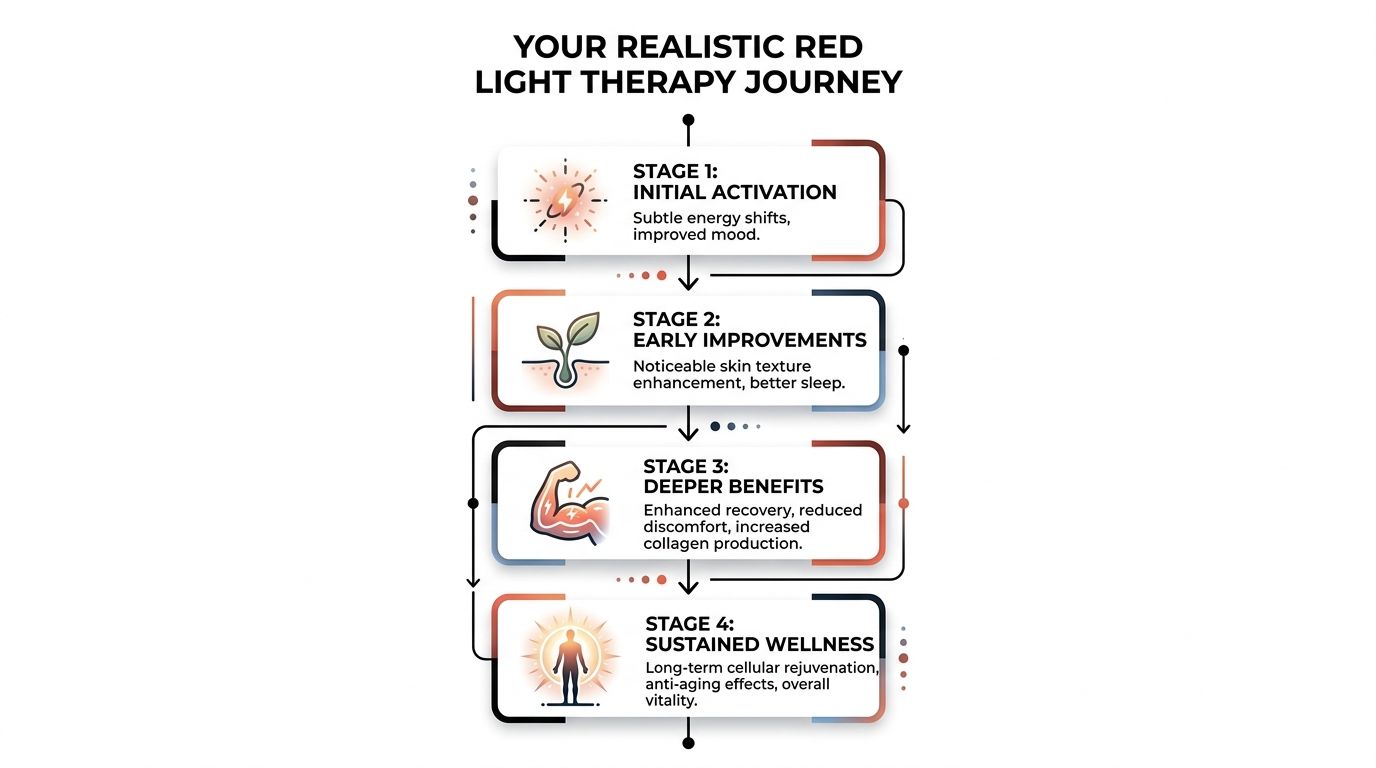
What early progress can look like
An at-home study published in 2023 found that after 8 weeks, participants saw a 12.5% increase in skin elasticity and a 32.7% improvement in skin tone, with noticeable progress by day 28, according to the published study.
That same evidence base lines up with a practical timeline many users can relate to:
- Weeks 1 to 2 often bring subtle changes
- Weeks 3 to 6 are where texture refinement becomes easier to see
- Weeks 8 to 12 are where stronger before-and-after changes tend to emerge with regular use
For scalp wellness, the timeline is often less dramatic visually at first. You may notice feel before appearance. The scalp can seem less reactive or more balanced before photos show obvious density changes.
Expected Results Timeline with Consistent Use 3 to 5 Sessions Per Week
| Timeframe | Potential Skin Benefits | Potential Scalp & Hair Benefits |
|---|---|---|
| Weeks 1 to 2 | Skin may look a bit fresher or feel smoother | Scalp may feel calmer and more comfortable |
| Weeks 3 to 6 | Texture refinement and a more even-looking complexion may become easier to notice | Shedding patterns may feel easier to track and the scalp environment may look healthier |
| Weeks 8 to 12 | Stronger visible changes may develop with continued routine, including softer-looking fine lines and improved tone | Progress photos may begin to show early changes in the look of fullness or coverage for some users |
| Ongoing maintenance | Results are best supported by continued consistency | Long-term routines help maintain a supportive scalp environment |
How to interpret your own timeline
Do not compare your week four to someone else’s week twelve.
Your starting point matters. So does your routine. Someone treating mild skin dullness may notice visible change faster than someone tracking scalp thinning. Hair-related goals also tend to require more patience because visible changes depend on longer biological cycles.
If you miss sessions, do not assume the treatment has failed. Resume the routine and keep your photo log going. The larger pattern matters more than a single off week.
Signs people often overlook
Many users only count “big” visual changes. That can make them miss important early wins.
Watch for:
- A better skin feel when washing your face
- Less visible roughness under side lighting
- A calmer scalp after washing or styling
- Fewer bad hair days where the scalp looks irritated or exposed
- Improved confidence in photos even before major changes appear
Before-and-after results usually begin as a cluster of small improvements. When those stack over several weeks, they become the visible change many people were hoping for from the start.
How to Document Your Progress with Photos
If you want honest before-and-after evidence, start with a repeatable photo routine. Many do not fail because the treatment failed. They fail because their photos are inconsistent, and inconsistent photos hide real progress.
The goal is not professional photography. It is comparability.
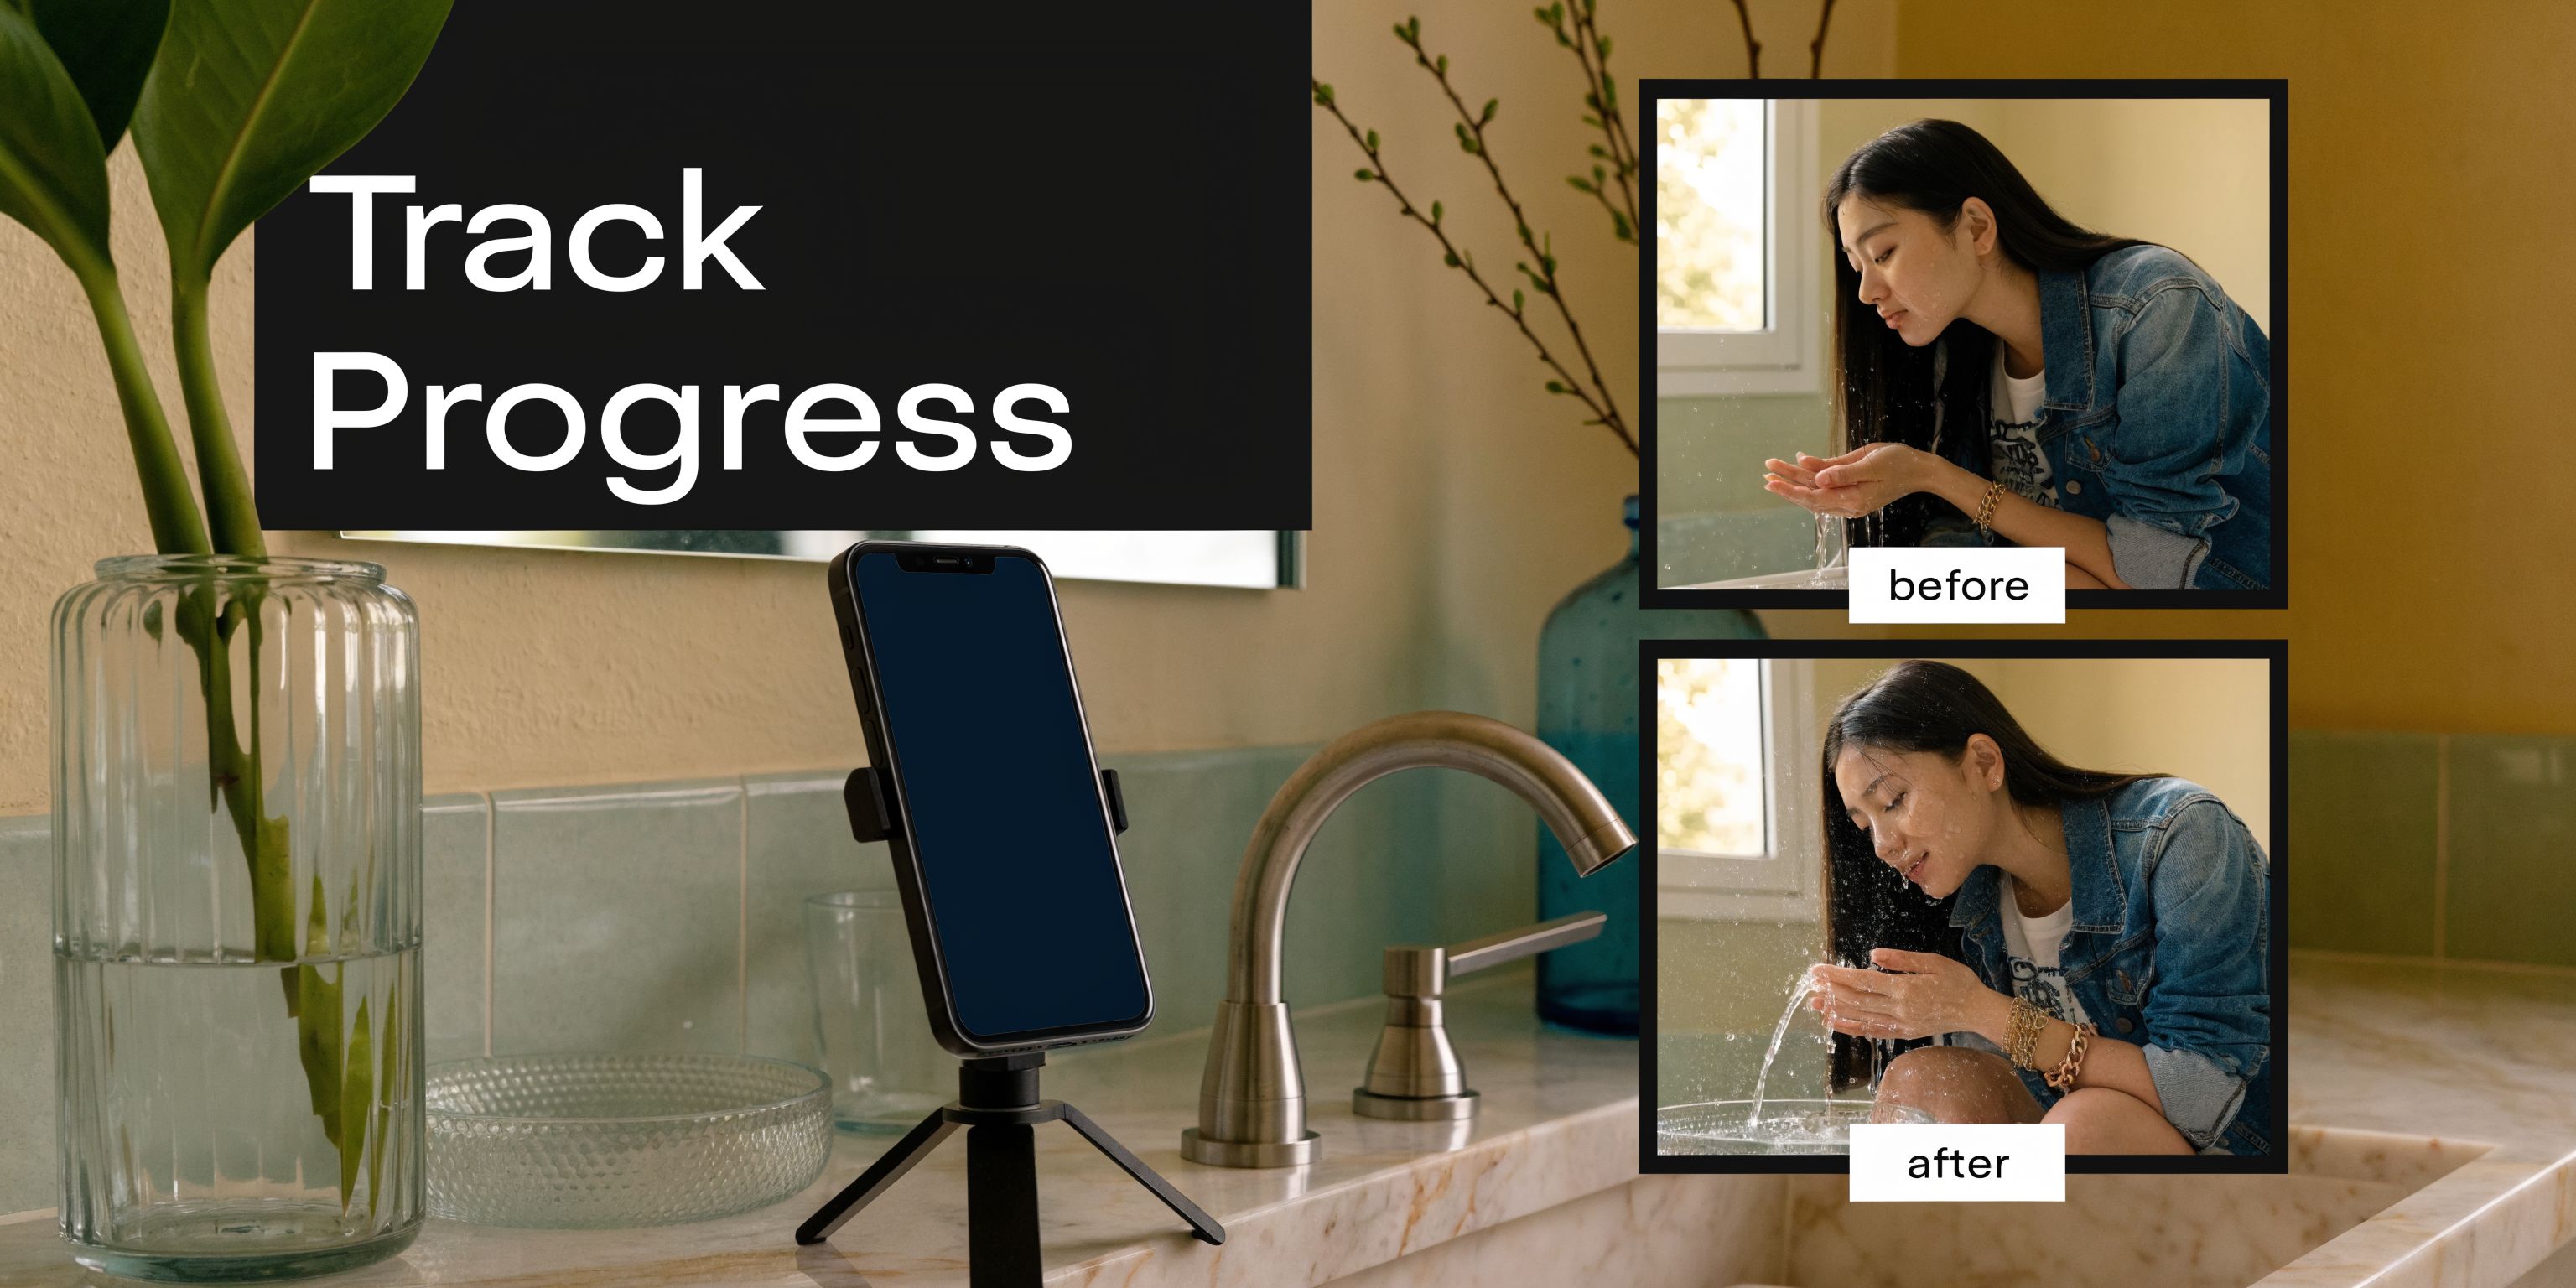
Build a simple repeatable setup
Pick one place in your home and keep using it. Good options include a spot facing a window or a bathroom with steady, neutral light. Try to avoid warm evening light, heavy shadows, and beauty filters.
For face photos, keep your skin clean and product-free. For scalp photos, use dry hair without styling products that can make density look better or worse than it really is.
Use the same basics every time:
- Same camera on the same lens setting
- Same angle for front, sides, and crown
- Same distance from the camera
- Same posture and head position
- Same time of day when possible
What to photograph for scalp wellness
Scalp progress is easy to misread because hair can hide or exaggerate changes depending on parting and light. Be more methodical than you think you need to be.
Take these views each time:
- Front hairline
- Center part
- Left temple
- Right temple
- Crown
- A close scalp shot in your main concern area
A helpful visual walkthrough can make this easier. This guide on red light therapy for wrinkles before and after is face-focused, but the same photo discipline applies to scalp tracking.
Keep a schedule, not random snapshots
Set a fixed photo schedule before you begin. Random pictures taken whenever you remember are much less useful.
A practical rhythm is:
- Day 1
- Week 4
- Week 8
- Week 12
After that, monthly check-ins usually work well for maintenance.
Here is a useful demo on documenting visual changes clearly:
Label your photos immediately. A simple folder system with dates and views saves a lot of confusion later.
The less guesswork in your documentation, the easier it is to tell whether your red light therapy benefits before and after are real.
Using Your Prospek Cap for Optimal Results
A busy evening is usually where good intentions fall apart. If a wellness tool needs a mirror, a charging station, and twenty quiet minutes you rarely have, it often gets pushed to the weekend and then forgotten. A hands-free cap changes that pattern. It lets scalp care happen during life, not outside it.
That matters because red light therapy works more like charging a battery than flipping a switch. Small, regular sessions tend to be more useful than occasional long ones, especially for scalp wellness and early hair thinning.

Choose the mode with a clear purpose
If your cap offers more than one light setting, start by matching the mode to the outcome you care about most.
- Red mode is often used for more surface-level skin support
- Near-infrared mode is often selected for deeper scalp support
- Combo mode is a practical choice if you want one routine for both scalp and skin
That simple framework prevents a common mistake. People switch settings constantly and then have no idea what helped.
Build a routine you can repeat on a normal week
The best schedule is the one that survives real life.
A practical starting routine for portable LED caps designed for regular home use looks like this:
- Use the cap on a clean, dry scalp or clean skin
- Follow your device instructions for session length
- Repeat sessions consistently through the week
- Stack the session onto something already fixed in your day, such as answering email, reading, or winding down before bed
The goal is less friction. If the cap lives next to your laptop or nightstand, it is easier to use it often enough to see whether it is helping.
Portable caps fill a gap many LED guides miss
A lot of red light content stays focused on face masks and anti-aging photos. Scalp use gets much less practical guidance, even though a cap is one of the easiest formats for someone trying to stay consistent.
A discussion from Novuskin highlights scalp wellness as an underserved angle and notes that consumer before-and-after tracking for portable caps is still limited. That point matters. If you are using a cap for thinning, shedding, or general scalp support, your own consistency and photo log are part of the plan, not an extra step.
Make the cap fit your day
You do not need a perfect self-care window.
Many users are more consistent when they wear the cap during low-movement tasks such as:
- Desk work
- Reading
- Evening downtime
- Travel evenings in a hotel room
- Quiet tasks at home
That is the practical edge of a hands-free device. It gives you a realistic way to stay on schedule long enough to judge real scalp and skin changes.
Safety and Best Practices for Home LED Therapy
Home LED therapy is popular partly because it is gentle. It is not the same as UV exposure, and it is not the same as an aggressive resurfacing procedure. For many users, a session feels easy and low-stress.
That said, gentle does not mean careless. Good habits still matter.
What a normal session should feel like
Many users feel little to no discomfort. A mild sense of warmth can happen, but pain is not the goal and should not be treated like proof that the session is “working.”
The 2014 controlled clinical trial reported no severe adverse events, with only minor, temporary issues such as brief reddening of old scar tissue that resolved within a week, as documented in the clinical paper already discussed earlier.
Best practices that make home use smoother
Start with a clean treatment area. If you are focusing on the scalp, use the device on a dry scalp and hair. If you are focusing on facial skin, remove makeup and heavy products first.
A few practical rules help:
- Keep the routine consistent rather than constantly extending sessions
- Follow the device instructions for timing and mode selection
- Pay attention to comfort if your skin or scalp is reactive
- Avoid turning every session into an experiment with changing variables
What not to do
Do not assume that longer sessions always mean faster results. Light therapy tends to reward regularity and appropriate use, not overuse.
Also, do not judge safety by dramatic sensation. LED therapy is supposed to feel manageable. If a device feels irritating, your first move should be to stop, reassess your setup, and consult a healthcare professional if needed.
Calm, repeatable use is the standard. If your routine feels harsh, something is off.
Home LED therapy often works best as a quiet part of a broader wellness routine. Clean skin, a dry scalp, a realistic schedule, and patience usually matter more than chasing intensity.
Frequently Asked Questions About Your RLT Journey
Questions usually get more specific once someone starts using the device. That is a good sign. It means you are paying attention to your routine instead of expecting instant results.
Can I do longer sessions to get faster before-and-after results
Usually, that is not the best strategy.
Red light therapy works through repeated support of normal cellular processes. More time is not always better. Many individuals do better with a stable rhythm they can maintain over weeks and months.
If you are tempted to increase everything at once, fix consistency first. A missed routine hurts progress more than a moderate session length.
Should I use red light therapy before or after skincare and hair products
Typically, clean skin and a clean scalp make the routine easier to standardize. After the session, you can apply your usual skincare or scalp products.
That order also helps with tracking. If you change products and light therapy at the same time, it becomes harder to tell what is driving the improvement.
What if I am using red light therapy for both face and scalp
That is one reason portable LED systems are appealing. You can build a routine around your main goal and stay consistent without splitting your life into separate treatments.
Use your photos to keep the goals distinct. Track facial texture and tone separately from hairline, part width, or crown appearance. Mixing all observations together tends to create confusion.
I am not seeing much at first. Does that mean it is not working
Not necessarily.
Visible change often lags behind biological change. Skin may feel smoother before it looks different in photos. A scalp may seem calmer before density appears improved. That is why documentation matters.
Review three things:
- Are you using it consistently
- Are your photos comparable
- Have you given it enough time
This is especially important because the more meaningful results in the evidence base come from longer use. In acne research, combined red and blue LED therapy showed a 76% mean reduction in inflammatory acne lesions after 12 weeks, and skin-focused measurements have shown a 12.5% increase in elasticity and 32.7% improvement in skin tone homogeneity after 3 months, as summarized in this expert review of before-and-after LED outcomes. The broader lesson is simple: significant changes usually require consistent, longer-term use.
Is scalp progress harder to track than skin progress
Yes, often.
Skin changes can show up as smoother texture or a fresher-looking complexion relatively clearly in photos. Scalp changes are easier to hide with styling, different lighting, or changes in hair length. That is why standardized crown and part-line photos matter so much.
If your main goal is thinning or shedding, do not rely on memory. Use fixed angles and date-stamped images.
Can red light therapy replace everything else
It is better to think of it as a supportive tool, not a total replacement for every other part of care.
A healthy scalp still benefits from gentle cleansing, stress management, and realistic expectations. Skin still responds to basics like sun protection and a steady skincare routine. LED therapy fits best when it strengthens a system you can maintain.
What is the best mindset for staying motivated
Look for trends, not daily drama.
People often quit because they expected one big “after” moment. Real progress is usually quieter than that. A better skin feel, a calmer scalp, and gradually stronger photos are all signs that the routine may be moving in the right direction.
If you stay consistent, document well, and think in months instead of days, you give yourself the best chance of seeing meaningful red light therapy benefits before and after.
If you want a simpler way to stay consistent with LED therapy, Prospek offers a cordless, hands-free cap designed for everyday scalp and skin support with 660 nm red and 850 nm near-infrared light. Its portable design makes it easier to keep up with the kind of routine that before-and-after results usually depend on.